-
 Australia
-
 Austria
-
 Belgium
-
 Bosnia and Herzegovina
-
 Brazil
-
 Bulgaria
-
 Canada
-
 China
China
-
 Croatia
-
 Czech Republic
-
 Denmark
-
 Ecuador
-
 Finland
-
 France
-
 Germany
-
 Great Britain
-
 Greece
-
 Hong Kong
-
 Hungary
-
 India
India
-
 Indonesia
-
 International
-
 Iran
Iran
-
 Israel
-
 Italy
Italy
-
 Japan
Japan
-
 Liechtenstein
-
 Luxembourg
-
 Malaysia
-
 Malta
Malta
-
 Mexico
-
 Montenegro
-
 Netherlands
-
 North Macedonia
-
 Norway
-
 Philippines
-
 Poland
-
 Portugal
-
 Republic of Singapore
-
 Romania
-
 Serbia
-
 Slovakia
-
 Slovenia
-
 South Africa
-
 South Korea
-
 Spain
Spain
-
 Sweden
-
 Switzerland
-
 Taiwan
-
 Thailand
-
 Turkey
-
 USA
USA
-
 Vietnam
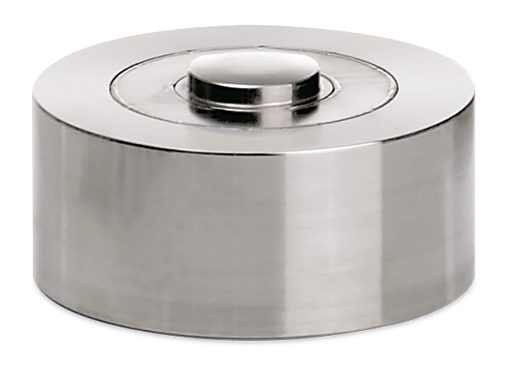
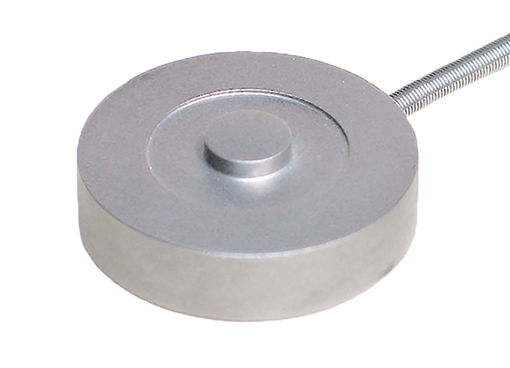
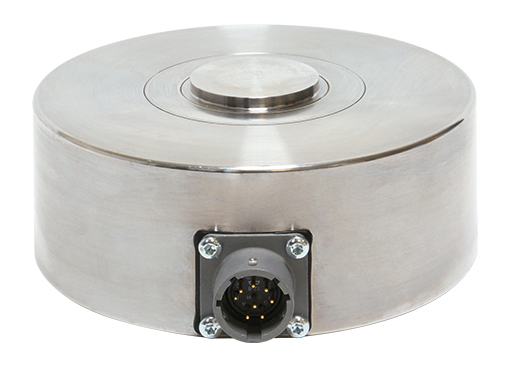
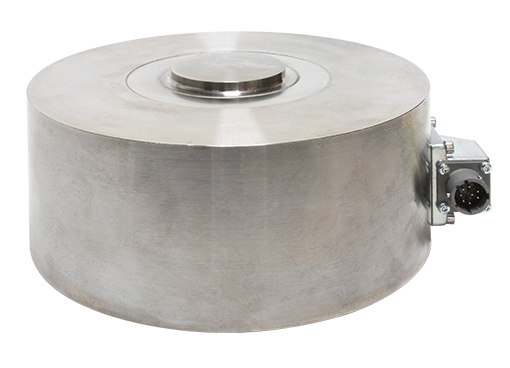
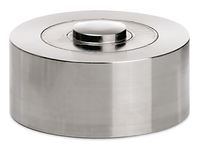
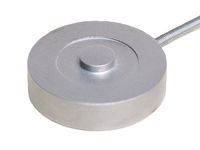
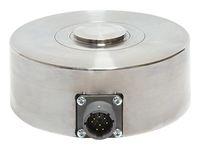
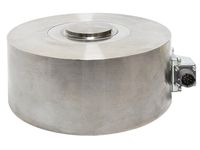
8526 Compression load cell
Compact, robust, high performance, for restricted spaces, for static and dynamic measurements, welded construction, protection class IP64, stainless steel
Too many products selected
Please notice that there is a limit of 5 products for the product comparison.
Your latest selection was canceled.
×-
Features
- Measuring ranges from 0 ... 100 N to 0 ... 1 MN
- Extremely compact design
- For static and dynamic measurements
- Three threaded holes on bottom for easy mounting and cable suitable for drag chain application
- Protection class IP64
- Relative non-linearity: ≤ ±0.1 % F.S.
- Standardized output signal
- burster TEDS optionally available
-
Product data
Model 8526 Measuring range 0 … 100 N
0 … 200 N
0 … 500 N
0 … 1 kN
0 … 2 kN
0 … 5 kN
0 … 10 kN
0 … 20 kN
0 … 50 kN
0 … 100 kN
0 … 200 kN
0 ... 500 kN
0 ... 1 MNDirection of force Compression Standardization Yes Signal output 1 mV/V Protection class IP64 Overload protection No Pull-plate No Load introduction button Yes Range of operating temperature -30 ... +80 °C Specific characteristics - Measuring ranges from 0 ... 100 N to 0 ... 1 MN
- Extremely compact design
- For static and dynamic measurements
- Three threaded holes on bottom for easy mounting and cable suitable for drag chain application
- Protection class IP64
- Non-linearity from 0.1% F.S.
- Standardized output signal
- burster TEDS optionally available
-
Description
Thanks to its compact shape and three fixing holes on its underside, the 8526 compression load cell can be used in a variety of applications. With its wide choice of measuring ranges from 0 ... 100 N up to 0 ... 1 MN, it really can cover a wealth of measurement tasks, from the laboratory to use in heavy industry.
The integral load button provides an easy and reliable means of applying the force to be measured. Angle errors in the load application with a deviation from the measurement axis of up to 3° have only a minor influence on the measurement signal. For ideal measurement accuracy, the load cell should be mounted on a surface that has been ground and has a hardness of at least 60 HRC.
The model 8526 load cell is designed with an internal elastic membrane, to which strain gages are attached. When a compressive load is applied to the load cell, the membrane is elastically deformed and transfers its tension to the strain gages. These in turn respond with a proportional change in their ohmic resistance, which can be evaluated using a suitable instrumentation amplifier or display device.
-
Data Sheet & Downloads
-
Videos
Please accept marketing-cookies to watch this video.Monitoring the crimping process of rotational symmetrical parts
Please accept marketing-cookies to watch this video.Example showing load cell fitted under pre-load with extreme overload protection
Please accept marketing-cookies to watch this video.
-
Application Examples
Related products
Germany

burster praezisionsmesstechnik gmbh & co kg
Talstr. 1-5
76593 Gernsbach
Germany
Fon: +49 7224645-0
Fax: +49 7224645-88
infoburster.com
www.burster.com
Trade fairs
The Battery Show
18.06. -
20.06.24 -
Stuttgart,
70269,
Deutschland
burster gmbh & co kg
sensors & precision measurement
Talstr. 1-5
76593 Gernsbach
GERMANY
Contact:
Phone: (+49) 07224-6450
Fax: (+49) 07224-64588
E-Mail:
infoburster.de
The measurement solution.
It‘s with this ambition and for over half a century burster, a global player in the precision measurement technology industry, supplies some of the world’s most recognizable brands with sensors, precision measuring devices and measuring systems for sensor signaling processing. This is all done through our research, development and production headquarters in Germany.
Where quality assurance and production control play a significant role, burster is on board.

